Even Villains Get Back Pain (The Poison Ivy Fix)
Come closer, my blooms.
I know why you're here.
Your back hurts. It's been hurting. And you've tried stretching it, cracking it, ignoring it, and googling it at 2am — and none of it worked.
Here's the truth nobody tells you:
Your back doesn't hurt because it's weak. It hurts because it's stuck.
Your spine is supposed to move like a vine — fluid, segmented, controlled. Instead it's moving like a block of concrete. One locked unit taking the hit for everything your hips and mid-back refuse to do.
That's what this flow fixes.
This is the Poison Ivy Back Pain Protocol. 8 moves. No equipment. Built for people who sit too long, move too little, and deserve better than "just stretch more."
Let's begin.
Why Your Back Is Screaming At You
Before we move, understand what's actually happening.
Your lower back hurts because something upstream stopped doing its job. Specifically:
Your thoracic spine (mid-back) isn't rotating. So your lumbar spine rotates instead — and it's not built for that.
Your hip flexors are short from sitting. They drag your pelvis forward and compress your lumbar vertebrae all day long without you even noticing.
Your lats are locked. They attach from your upper arm all the way to your pelvis. When they're tight, your entire back chain pays for it.
Your spine moves as one rigid block instead of in segments. Every movement you make overloads the same two or three vertebrae over and over.
This isn't a gym problem. This is a mobility problem. And you can fix it right now.
The Poison Ivy Back Pain Flow
Do this 3-4x per week. In order. Don't rush.
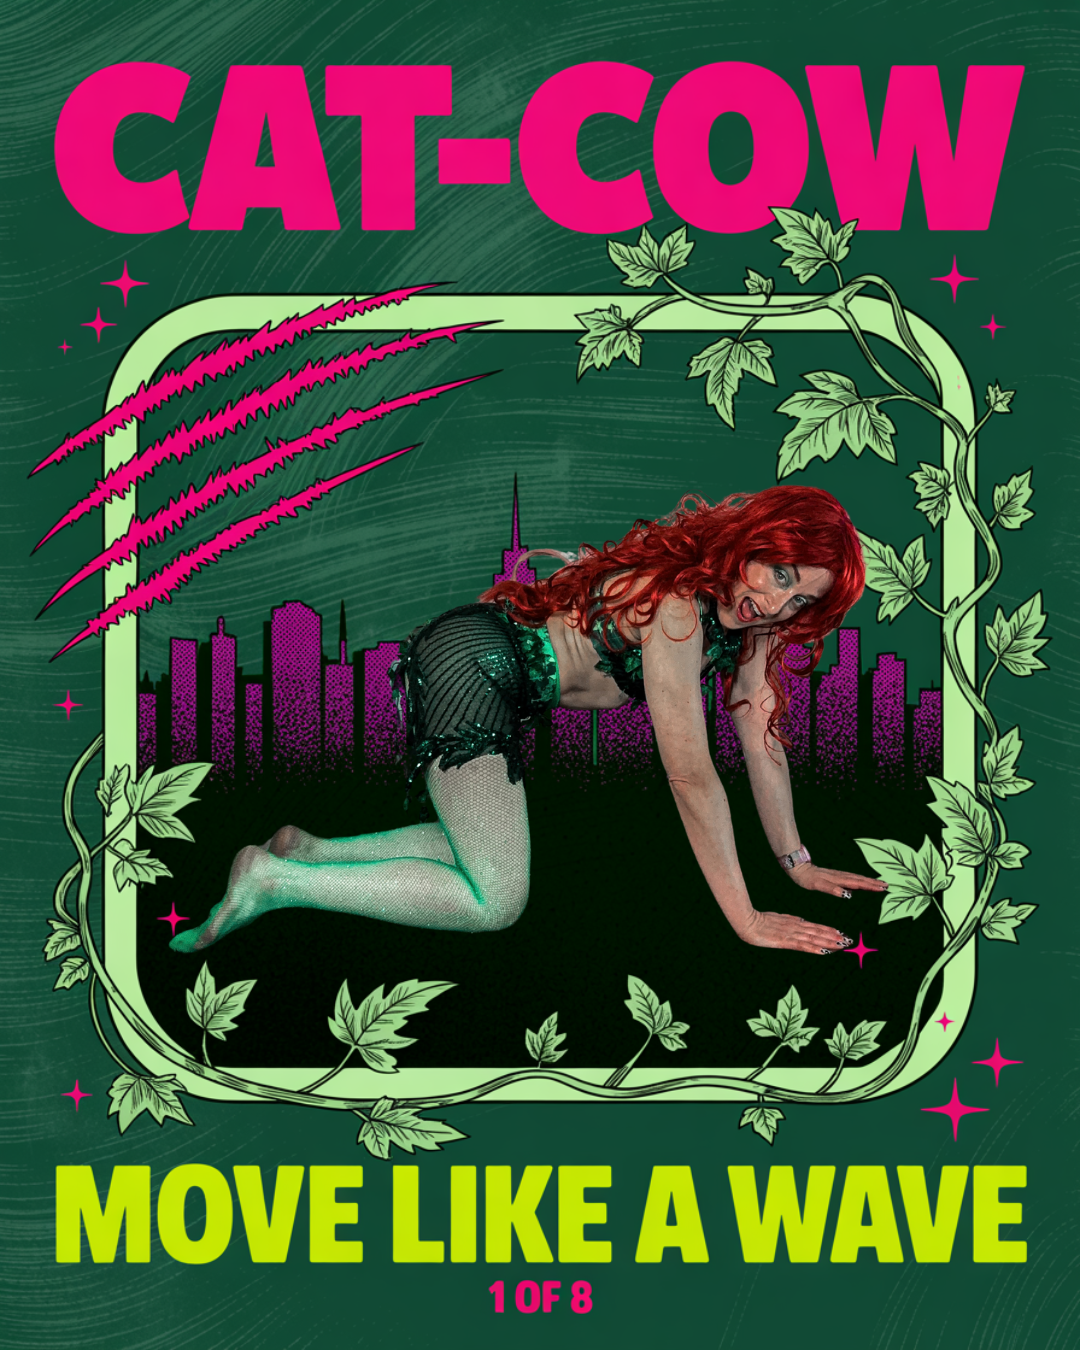
1. Cat-Cow — Spinal Segmentation
Hands and knees. Hands under shoulders, knees under hips.
Cow: Start at your tailbone. Tilt your pelvis forward, let your lower back arch, then your mid-back, then lift your chest and head last. Let the wave travel all the way up.
Cat: Reverse it. Tuck your tailbone, round your lower back, then mid-back, then tuck your chin last.
Move slowly. One vertebra at a time. This is not a fast exercise.
8 reps. Breath matches movement.
What it does: Teaches your spine to move in segments instead of one locked block. This is the foundation of the entire flow.
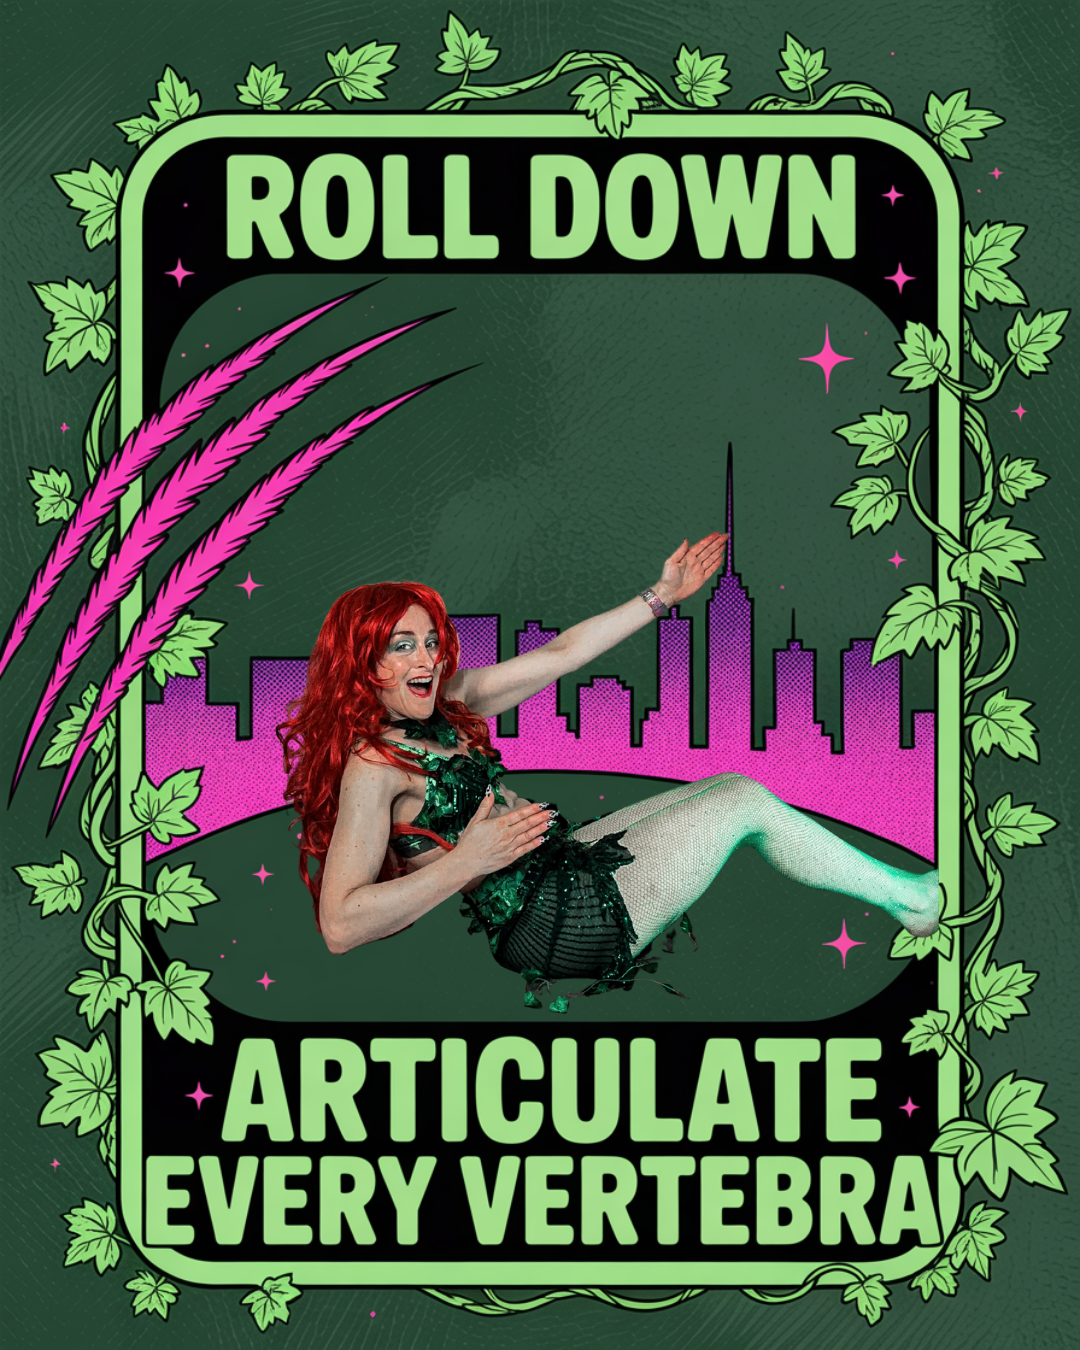
2. Roll Down — Full Chain Release
Stand tall. Feet hip-width. Soft knees.
Tuck your chin to your chest. Let your head get heavy. Slowly roll your spine down toward the floor — one vertebra at a time — until your hands hang toward the ground.
Hold for 3 breaths. Let gravity do the work.
Roll back up the same way — tailbone first, stack each vertebra, head comes up last.
4-6 reps.
What it does: Decompresses the entire spine. Releases hamstrings and lats simultaneously. Resets your posture baseline.
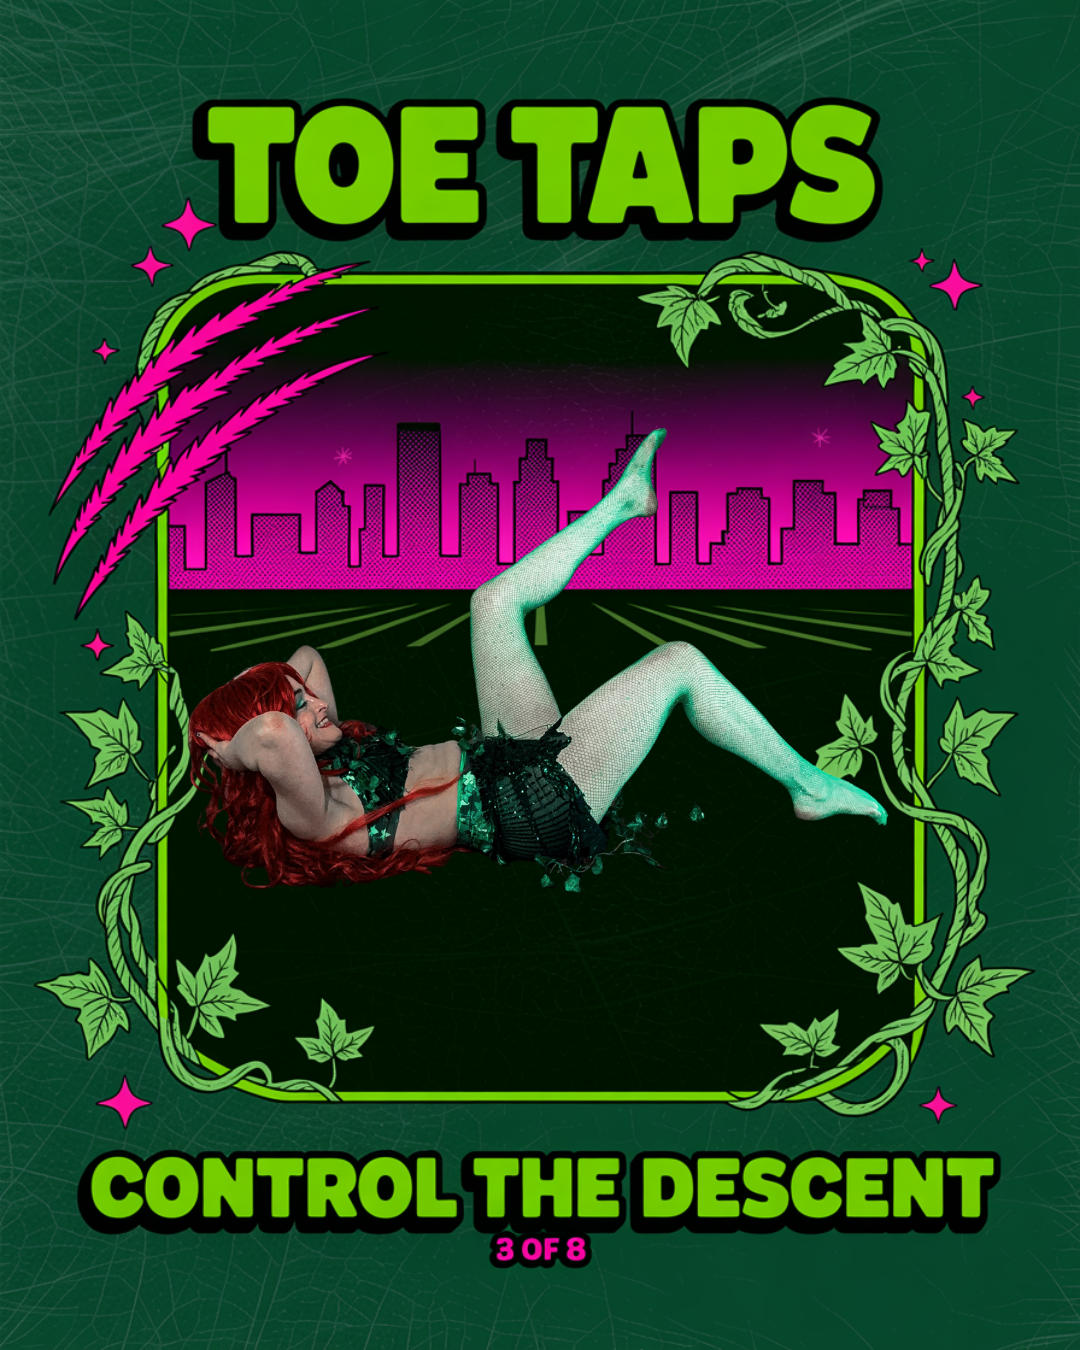
3. Toe Taps — Core Activation Without Flexion
Lie on your back. Legs in tabletop — knees over hips, 90 degrees.
Slowly lower one foot to tap the floor. Keep your lower back connected to the mat. Bring it back up. Switch sides.
If your back arches when you lower the leg — you've gone too far. Keep the range small until your core stabilizes.
10 reps each side.
What it does: Activates deep core stabilizers without loading your spine. Your lower back cannot do its job if your core isn't firing first.
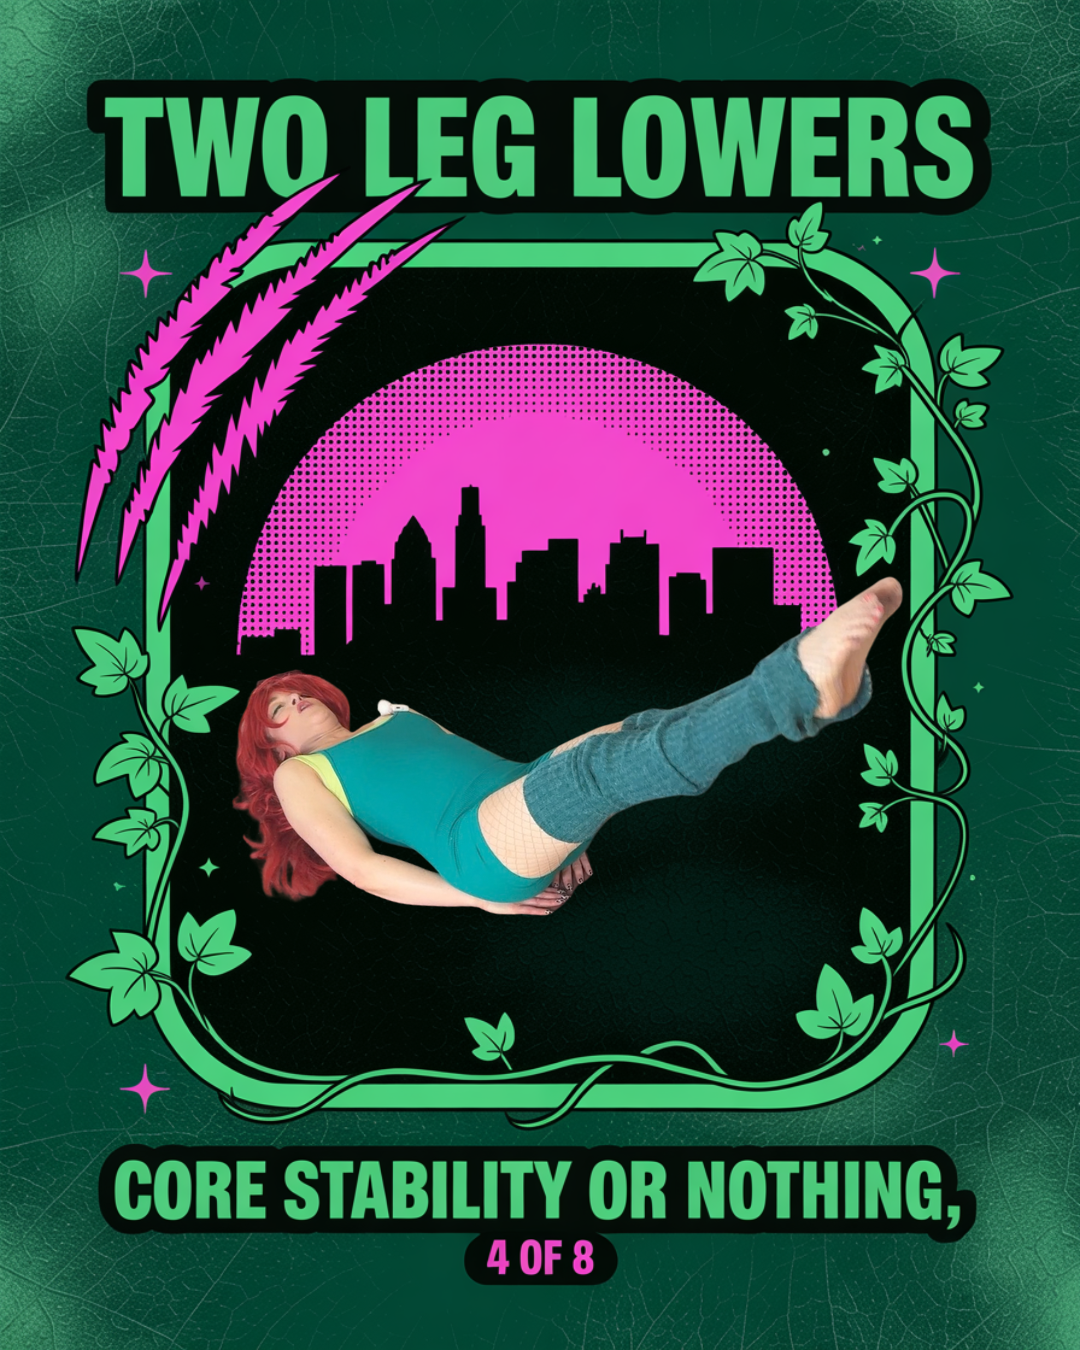
4. Two Leg Lowers — Core Under Load
Same starting position. Both legs in tabletop.
Slowly lower both legs toward the floor — only as far as you can without your lower back lifting off the mat. Hold for 2 counts. Bring them back up.
This is not a race. If your back lifts, you've gone too far. Reduce the range.
8 reps.
What it does: Builds anterior core strength so your lower back stops compensating for a weak front chain. This is the move that makes everything else stick.
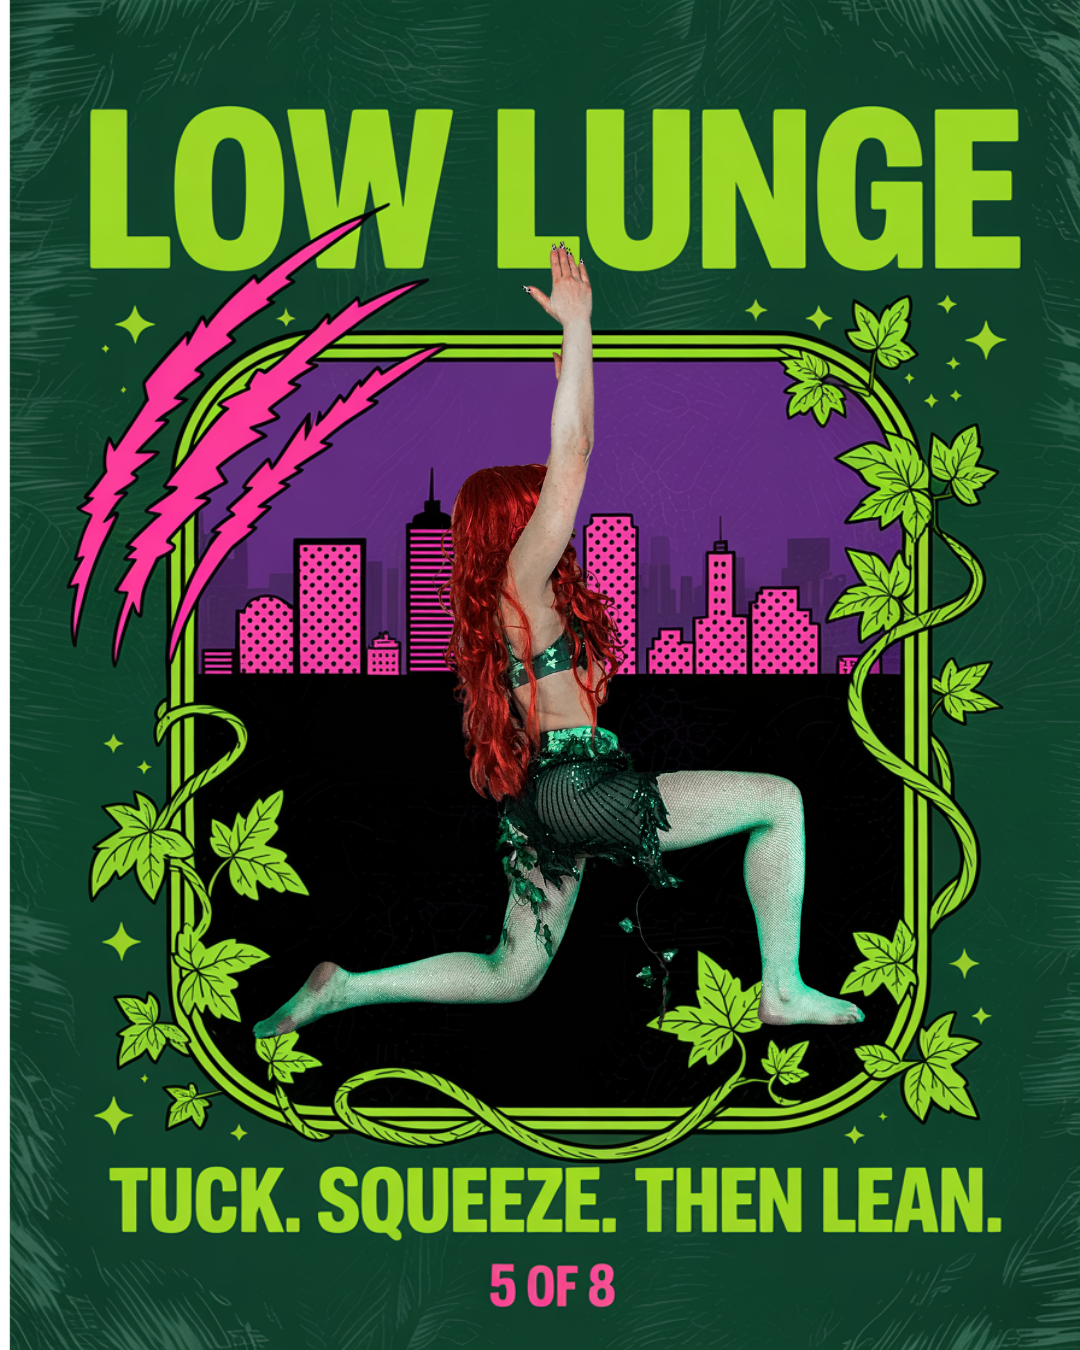
5. Low Lunge — Hip Flexor Release
Step one foot forward into a lunge. Back knee on the floor.
Here's where everyone goes wrong: tuck your pelvis first. Squeeze your back glute. Then lean forward.
If you skip the tuck and squeeze, you feel nothing. You're just hanging in your hip flexor instead of stretching it.
Hold 45 seconds each side.
What it does: Releases the psoas — the muscle that attaches directly to your lumbar vertebrae and drags them forward when it's tight. This is the single most important stretch for lower back pain from sitting.
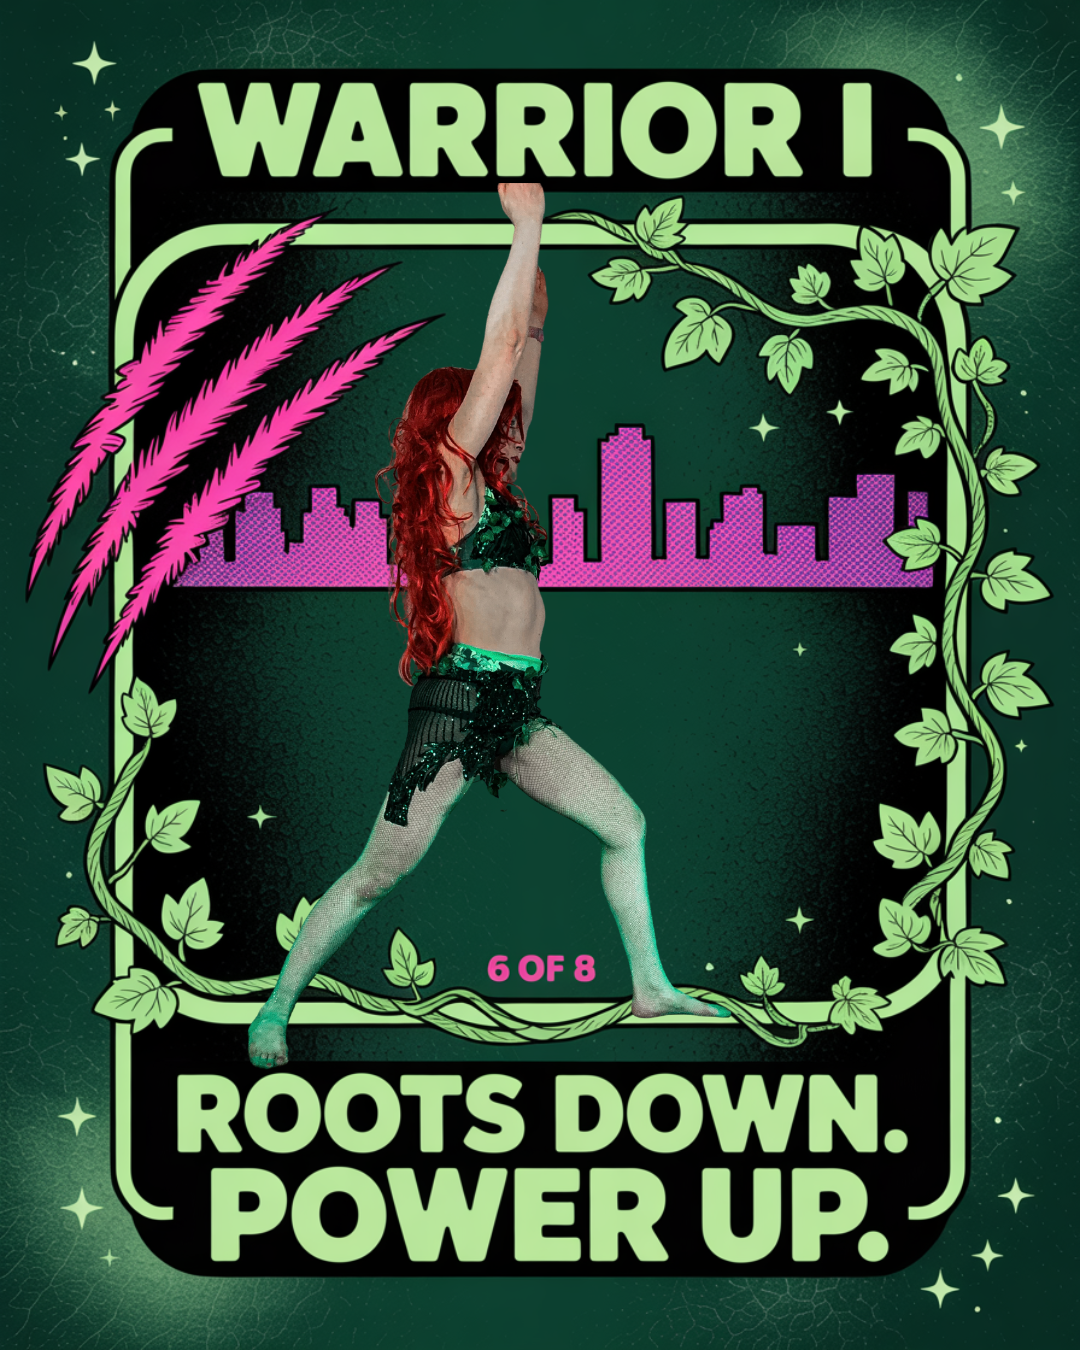
6. Warrior I — Hip Flexor Strength + Spinal Extension
From your lunge, spin your back foot flat. Rise up into Warrior I.
Front knee over ankle. Back leg strong. Hips square to the front. Arms reach up — lift through your chest, not your lower back.
Hold 30-45 seconds each side.
What it does: Builds hip flexor length under load. Trains your spine in extension with your core engaged. This is where mobility becomes strength.
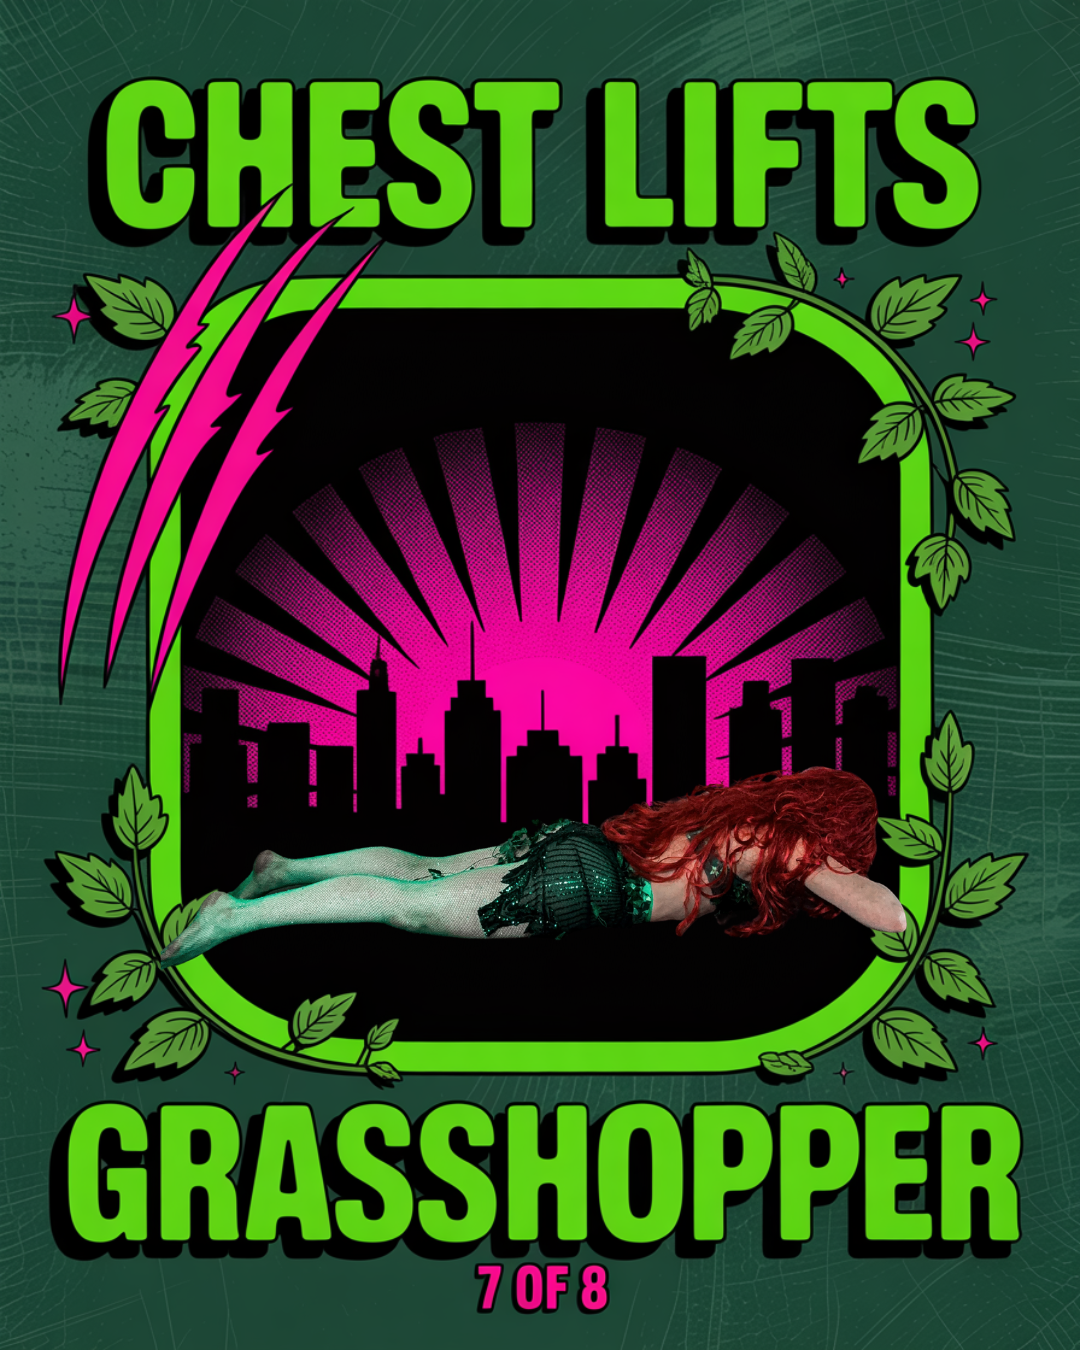
7. Chest Lifts / Grasshopper — Spinal Extension
Lie on your stomach. Arms by your sides or extended.
Chest Lifts: Press into your pubic bone. Lift your chest off the floor using your back muscles — not your hands. Hold 2 counts. Lower slowly. 8 reps.
Grasshopper: From the same position, bend both knees and lift your thighs off the floor simultaneously. Squeeze your glutes. Hold 2 counts. Lower. 6 reps.
What it does: Strengthens your posterior chain — the back muscles that support your spine from behind. Most back pain protocols only stretch. This one also builds.
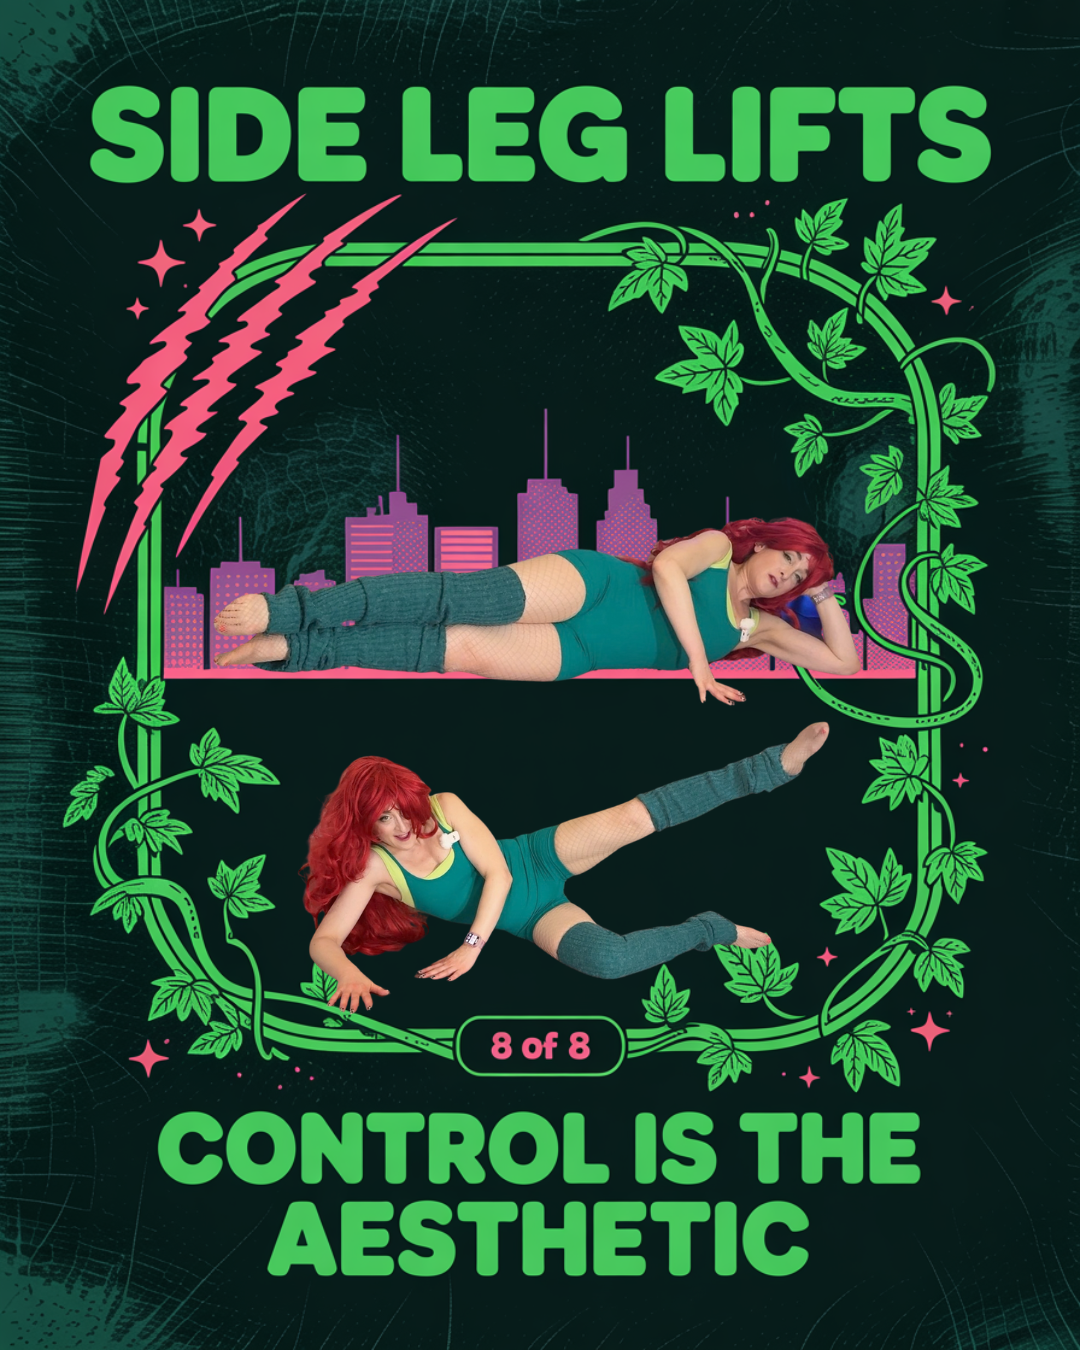
8. Side Leg Lifts — Lateral Chain Activation
Lie on your side. Body in one straight line. Bottom arm extended, head resting on it.
Lift your top leg to hip height. Hold 2 counts. Lower slowly. Don't let your pelvis rock.
12 reps each side.
What it does: Activates your glute medius and lateral stabilizers — the muscles that keep your pelvis level when you walk, stand, and move. When these are weak, your lower back overworks to compensate.
The Protocol
Do all 8 moves in order. 3-4 times per week.
You'll feel a difference in 3 sessions. A real difference in 2 weeks.
Not because you got stronger overnight. Because you finally gave your spine permission to move the way it was designed to.
Your Back Isn't The Problem
Your spine is stuck. Your hips are short. Your core checked out.
Fix those three things and your lower back stops screaming.
This flow fixes all three.
Want a custom protocol built around your specific movement patterns? I offer 1:1 virtual sessions for exactly this. Book a session →
And if you want to see the full flow in action — the video is live on my YouTube channel now. Watch it. Do it with me. Then do it again Thursday.
🌿 Abs. Ass. Stretch. Sass.™
Jessi Flowz is a Romana-certified Pilates instructor with 20+ years of experience. This post is for educational purposes. If you have a serious spinal injury or chronic pain condition, consult a physician before starting any new movement protocol.
